If you want smooth walls, crisp lines, and a finish that lasts, the right toolkit matters as much as the paint itself. Below is a curated, room-tested list of the tools essential for a successful painting project, along with how and when to use each one. Skim the headers, grab what you’re missing, and paint with confidence.
1) Prep Tools: The Foundation of a Great Finish
Why they matter: Clean, sound surfaces help paint bond and level properly.
- Cleaner & buckets: mild cleaner or TSP substitute; two buckets (wash/rinse); cellulose sponges; microfiber cloths.
- Scraper & putty knives (1.5″–3″): Lift flaking paint, set nails, apply filler neatly.
- Patching compounds: Lightweight spackle for drywall; wood filler for trim/doors.
- Sanding gear: 120–150 grit for shaping patches, 180–220 grit for smoothing; sanding sponge for corners; pole sander for broad walls/ceilings.
- Caulk & caulk gun: Paintable acrylic/urethane caulk to close small gaps at trim, casing, and baseboards.
- Dust control: Shop vac with brush attachment; tack cloths to remove fine powder.
Pro tip: Prime patched or glossy areas after sanding so your topcoat lays down evenly.
2) Protection & Masking: Keep Surfaces Clean
Why they matter: Good protection saves hours of cleanup and yields sharper lines.
- Drop cloths: canvas for floors (non-slip) and plastic for furniture and built-ins.
- Painter’s tape: Quality tape for clean edges; delicate-surface tape for fresh paint or sensitive substrates.
- Masking paper/plastic & hand masker: Speeds up covering baseboards, windows, and doors.
- Edge guards & shields: Helpful when cutting in along carpets or fragile edges.
Pro tip: Lightly burnish tape edges with a putty knife for razor-sharp lines.
3) Brushes: Control, Coverage, and Clean Lines
Why they matter: The right brush improves cut-in accuracy and finish quality.
- 2″–2.5″ angled sash brush (nylon/poly blend): Everyday trim and cutting in along ceilings and corners.
- 1″–1.5″ detail brush: Tight spots around hardware, hinges, and small profiles.
- Flat brush (2″–3″): Wide, flat surfaces like casing and doors.
Pro tip: Keep a damp cloth nearby and occasionally wipe the ferrule to prevent dried paint from transferring streaks.
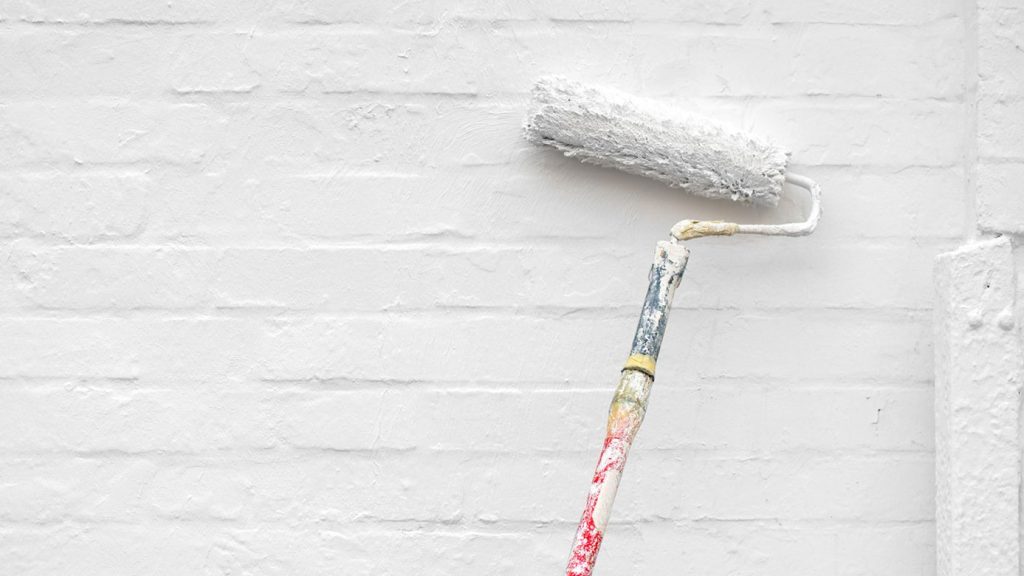
4) Rollers, Frames, and Poles: Speed + Consistency
Why they matter: Rollers apply a uniform film thickness quickly.
- Roller frames (9″ and 4″): Standard 9″ for walls/ceilings; 4″ mini for trim boards, cabinets, and narrow areas.
- Covers by surface:
- 3/8″ nap: smooth to lightly textured walls (most interiors)
- 1/2″ nap: moderate texture or low-sheen paints on ceilings
- 1/4″ nap or microfiber: doors, trim, and cabinets for a near-sprayed look
- Extension pole: Reduces ladder time and maintains consistent roller pressure.
- Trays, liners, or 5-gal bucket + roller grid: Liners speed cleanup; grids keep nap evenly loaded.
Pro tip: De-lint new covers with tape or a quick rinse/spin to avoid fuzz in the finish.
5) Cutting-In & Detailing Aids: Clean Transitions
Why they matter: Crisp borders sell the paint job.
- Quality angled brush (again): Still the MVP.
- Mini-rollers (foam or microfiber): Blend brushwork on doors, cabinets, and tight wall sections.
- Corner tools: Inside-corner blades/rollers are useful for heavy textures; use sparingly for best results.
Pro tip: Work in short sections—cut in a wall and roll it immediately to maintain a wet edge.
6) Measuring, Mixing, and Pouring: Consistent Color, Less Mess
Why they matter: Proper mixing prevents color mismatch and flashing.
- Paint key or opener & pour spout: Clean can rims to reduce drips.
- Stir sticks or mixing paddle (drill): Re-suspend pigments and flatteners thoroughly.
- Five-gallon bucket (for boxing): Combine multiple five-gallon buckets to achieve uniform color across rooms.
- Wet-film gauge (advanced): Confirms you’re applying recommended film thickness on critical projects.
Pro tip: “Box” paint from multiple cans before you start so the color stays consistent from wall to wall.
7) Primers: Your Insurance Policy
Why they matter: Primers seal patches, block stains, and enhance adhesion.
- Bonding primer: Over glossy, previously painted trim or unknown coatings.
- Stain-blocking primer: Water marks, tannin bleed, smoke residue.
- Drywall primer: New drywall and joint compound for uniform sheen.
Pro tip: Spot-prime patched areas first, then evaluate if a full prime is needed for uniformity.
8) Ladders, Staging, and Lighting: Work Safely, See Everything
Why they matter: Stability and visibility prevent errors and accidents.
- Step ladder (6’–8′) with top shelf: Holds a tray and tools, reducing up-and-down trips.
- Platform/bench: Comfortable reach for long wall sections.
- Work lights: LED panel or clamp lights at oblique angles to reveal misses, sags, and texture.
Pro tip: Move lights as you go; inspect in raking light to catch imperfections early.
9) Climate & Timing Helpers: Beat Conditions
Why they matter: The environment affects flow, leveling, and cure.
- Thermo-hygrometer: Checks room temperature and relative humidity.
- Fans & ventilation: Improve drying without directly blasting wet paint.
- Dehumidifier or space heater (within label limits): Keeps conditions in the sweet spot.
- Clock/timer: Respect recoat windows; rushing causes pull-off and lap marks.
Pro tip: Avoid late-day coats that will be exposed to evening humidity; start earlier and stop on time.
10) Safety Gear: Protect Yourself
Why they matter: Comfort and safety keep quality high from start to finish.
- Respirator or mask (as needed), safety glasses, and gloves.
- Knee pads and soft-toe shoes: Reduce fatigue on large projects.
- First-aid basics: Bandages, eye-wash bottle—small things that save time.
Pro tip: Ventilate well, especially in baths, kitchens, and basements.
11) Cleanup & Maintenance: Make Tools Last
Why they matter: Clean tools deliver better results next time—and save money.
- Brush, comb & spinner: Restore bristle shape and remove deep paint.
- Roller scraper: Squeegee out excess before washing.
- Mild soap & warm water (for water-based paints): Rinse until clear; shake out and hang to dry.
- Trash bags, rags, labeled jars for small parts: Keep screws, hinge pins, and hardware together.
Pro tip: Wrap the brush/roller in plastic between coats (short breaks only) to prevent drying; for overnight storage, clean them properly.
The Shortlist: If You Only Buy 12 Items
- 2–2.5″ angled sash brush
- 9″ roller frame + 3/8″ covers
- Extension pole
- High-density mini-roller (4″ foam or microfiber)
- Painter’s tape (plus delicate-surface variant)
- Canvas drop cloth
- Putty knife + patching compound
- Sanding sponge (180–220 grit)
- Bonding/stain-blocking primer
- Buckets (wash/rinse) + stir sticks
- Caulk & gun (paintable)
- Thermo-hygrometer (for indoor projects)
This minimalist kit includes the essential tools for a successful painting project in most homes while keeping costs reasonable.
Workflow That Delivers Pro Results
- Prep first: Clean, patch, sand, caulk, and spot-prime.
- Mask smart: Protect floors and edges before opening paint.
- Cut then roll: Work one wall at a time to maintain a wet edge.
- Thin, even coats: Two coats usually beat one heavy pass.
- Light & inspect: Use raking light to catch flaws early.
- Cure & clean: Respect recoat/cure times, then tidy everything for next time.
FAQs
1) Do I need a sprayer for a quality finish?
No. With the right brushes, rollers, and technique, you can achieve a near-sprayed look—especially on doors and trim using a mini-roller and light “tip-off” with a brush.
2) Which roller nap should I choose?
For smooth walls, 3/8″ is the go-to. Use 1/4″ for doors/trim and 1/2″ if the surface has moderate texture or you’re working on ceilings.
3) Is primer always required?
Not always—but it’s essential over patches, stains, glossy finishes, and unknown coatings. Primer evens porosity and improves adhesion.
4) How do I keep lines crisp where the wall meets the ceiling?
Use quality painter’s tape, burnish the edge, cut in carefully with an angled brush, and roll the wall immediately to blend.
5) What’s the most common DIY mistake?
Skipping prep. Cleaning, sanding, and spot-priming are the quiet steps that ensure the paint lies flat and lasts.