Flawless Finishes: Insider Secrets for Trim Painting Success
Trim painting is more than just a finishing touch—it’s the detail that defines a room’s character and elevates your home’s style. Whether you’re updating a single room or tackling an entire house, mastering the art of trim painting ensures your interiors look polished and professional. This guide reveals insider strategies used by top painters, covering everything from prep to protection, and offers practical advice for stunning, long-lasting results.
Why Trim Painting Matters
Trim—baseboards, crown molding, window casings, and door frames—frames the architecture of your space. Well-painted trim draws the eye, enhances architectural details, and creates a cohesive look that ties the room together. Poorly executed trim work, on the other hand, can detract from even the most beautifully painted walls. The difference lies in technique, preparation, and attention to detail.
Step-by-Step Trim Painting Guide
1. Assess Your Project
Start by evaluating the scope: measure the total length of trim, note the complexity of the molding, and inspect the current condition. Identify any repairs needed, such as filling cracks or sanding rough spots. This assessment helps you estimate time, materials, and costs.
2. Prepare the Surface
Thorough prep is essential. Clean trim with a mild detergent to remove dust and grease. Repair imperfections with wood filler, then sand for a smooth finish. For older trim, consider stripping old paint to ensure a fresh, even base. Proper prep guarantees better paint adhesion and a flawless final look.
3. Choose the Right Paint and Tools
Select a semi-gloss or high-gloss paint for trim—it’s durable and easy to clean. Oil-based paints offer superior coverage for high-traffic areas, while latex paints dry quickly and are less odorous. Use high-quality angled brushes for precision, and invest in painter’s tape for crisp lines.
4. Protect Surrounding Areas
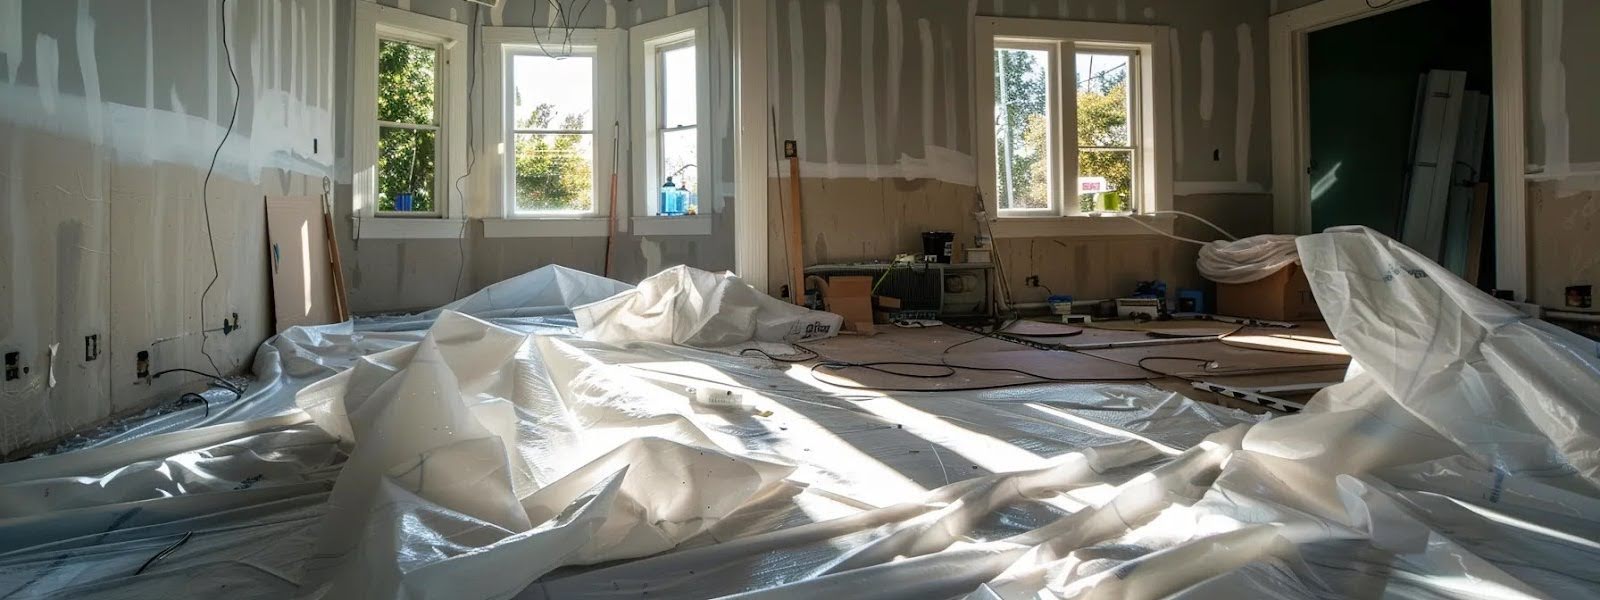
Mask walls, floors, and fixtures with painter’s tape and drop cloths. This prevents accidental spills and makes cleanup a breeze. Careful masking is the secret to sharp, professional-looking edges.
5. Prime and Sand
Apply a quality primer to create a uniform base, then lightly sand once dry to remove any imperfections. Priming ensures even coverage and enhances the paint’s durability.
6. Apply Paint with Precision
Use an angled brush to paint trim, working in small sections from top to bottom. Apply thin, even coats, allowing each to dry before adding the next. For large, flat areas, a mini roller can speed up the process. Take your time—rushing leads to drips and streaks.
7. Touch Up and Inspect
Once the final coat dries, inspect for missed spots or imperfections. Touch up as needed, using a fine brush for detailed areas. Quality control ensures a flawless finish.
8. Clean Up and Final Check
Remove tape and drop cloths carefully, clean your tools, and dispose of waste responsibly. Perform a final inspection to ensure all trim is smooth, even, and free of defects.
Cost to Paint Interior Trim
Trim painting costs depend on several factors, including the total length of trim, complexity of the molding, and the condition of existing surfaces. On average, expect to pay $1 to $3 per linear foot for professional trim painting. Here’s a breakdown by room size:
| Room Size (sq ft) | Estimated Cost Range | Influencing Factors |
|---|---|---|
| 100-200 | $100-$600 | Trim complexity, paint quality |
| 200-400 | $200-$1,200 | Surface prep, design intricacy |
| 400-600 | $400-$1,800 | Multiple colors, custom finishes |
Frequently Asked Questions
What are the best techniques for preparing trim before painting?
Begin by cleaning the trim with a mild detergent to remove dirt and grease. Repair any cracks or holes with wood filler, then sand the surface until smooth. For older trim, stripping old paint may be necessary. Proper prep ensures better paint adhesion and a flawless finish. Don’t skip this step—it’s the foundation of professional results.
How do I choose the right paint for interior trim?
For trim, semi-gloss or high-gloss paints are ideal due to their durability and resistance to wear. Oil-based paints are best for high-traffic areas, while latex paints dry quickly and are easier to clean up. Consider the room’s function and your personal style when selecting a color. Always test paint samples in different lighting conditions before making a final decision.
What tools do I need for a professional trim painting job?
Essential tools include high-quality angled brushes, mini rollers, painter’s tape, drop cloths, sandpaper, wood filler, primer, and paint. For intricate trim, a fine detail brush is invaluable. Don’t forget safety gear like gloves and a respirator mask, especially when working with oil-based paints.
How can I ensure my trim painting project is well-ventilated?
Open windows and doors to maximize airflow, and use fans to circulate air throughout the room. Consider a portable air purifier to reduce paint fumes. Wear a respirator mask for added protection, and take frequent breaks in fresh air. Good ventilation minimizes odors and ensures a safer painting experience.
What factors affect the cost of professional trim painting?
Key factors include the total length of trim, complexity of the molding, condition of existing surfaces, type of paint used, and the level of surface preparation required. Room size, paint quality, and labor rates also influence the final price. Professional painters provide detailed estimates based on these variables to ensure transparency and value for clients.