Getting drywall truly paint-ready is the quiet work that makes your color shine. Skip it, and every dent, seam, and swirl shows the minute sunlight or a recessed can grazes the wall. This guide lays out the exact steps a Canyon Country Painting Company follows—patch, texture, sand, then prime—so your finish looks smooth on day one and still looks great years later.
Looking for local help? Start with a trusted team in your neighborhood: Canyon Country painting company.
What “Paint-Ready” Really Means
Paint-ready drywall isn’t just “patched.” It’s a surface where:
- Dings and screw pops are filled flush and won’t reappear
- Seams are feathered wide enough to hide under raking light
- Texture blends into the surrounding field—no visible “box”
- Sanding removes ridges without burnishing the paper face
- Primer equalizes porosity so color and sheen look uniform.
When those five boxes are checked, the paint lies down evenly and dries without flashing or telegraphing repairs.
Why Canyon Country Walls Need Better Prep
Canyon Country homes get bright, directional light most of the year. Morning and late-day sun skims across interior walls, spotlighting tape ridges and patch edges. Add open floor plans and tall windows, and even tiny imperfections show. Good prep—wider feathering, careful sanding, and proper priming—solves the problem at its source.
The Ideal Sequence: Clean → Patch → Texture → Sand → Prime
Following a consistent order prevents rework and keeps dust under control.
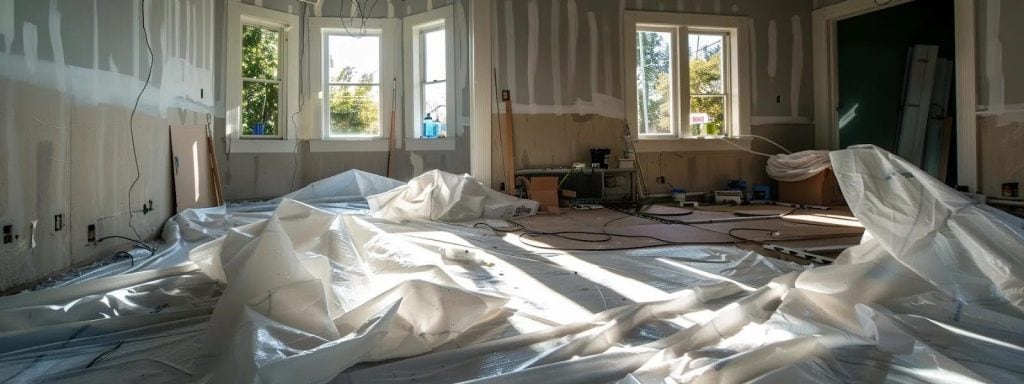
1) Room Prep & Containment
- Cover floors and furnishings; mask baseboards, built-ins, and fixtures
- Create light dust containment at doors if sanding more than a few spots
- Use a vacuum with a HEPA filter when possible
Goal: Keep dust out of HVAC and off finished surfaces so primer and paint bond cleanly.
2) Surface Cleaning & Degloss
- Dry wipe with a microfiber cloth
- Lightly scuff glossy spots with a sanding sponge; wipe dust
- Spot clean oils and marks around switches or kid zones; dry thoroughly
Clean surfaces give joint compound and primer the tooth they need.
3) Map Flaws with Raking Light
- Aim a bright work light at a shallow angle
- Circle nail pops, dents, lifted tape, seam ridges, and corner bead scuffs
- Note ceiling lines and window returns—these flash first under sunlight
Tip: Overhead lighting hides problems. Raking light is your truth teller.
4) Tighten the Substrate (Fastener Resets)
- Drive popped screws until they dimple slightly; add a second screw 1–2″ away
- For nails in older homes, tap back in and add a nearby drywall screw to stop movement
- Fill those dimples during your first coat
A tight sheet means patches won’t hump later.
5) Choose the Right Compound (By Task)
- All-purpose: bedding tape, first fills, screw dimples
- Lightweight: easier sanding; ideal for final passes
- Setting-type (“hot mud”): fast cure (20–90 min); great for deep fills and same-day progress
Use setting-type to build shape quickly, then switch to lightweight for that silky final skim.
6) Tape & Reinforcement Choices
- Paper tape for flat seams and tight inside corners (thin and strong)
- Fiberglass mesh for quick patches—seal well so the mesh doesn’t telegraph
- Preformed corners/metal-paper beads to restore crisp outside corners
Paper tape remains the go-to for a seam that disappears under paint.
7) Patch by Size & Situation
- Hairline scratches/pinholes: quick skim with lightweight compound
- Dime-to-quarter dents: fill, dry, sand; second feather 6–10″ wide
- Screw pops: two thin fills; check under raking light
- Small holes: mesh plate or patch, then multiple thin coats
- Torn paper/lifted face: seal with acrylic or stain-blocking primer before mud to avoid bubbling
Thin coats win—thick mud shrinks and cracks.
8) Feathering: How Wide is Wide Enough?
- First pass fills the flaw
- Second pass extends 3–4″ past the first on both sides
- Third pass (if needed) goes 8–12″ beyond the original seam or patch
If your palm feels a ridge after sanding, the feather isn’t wide enough.
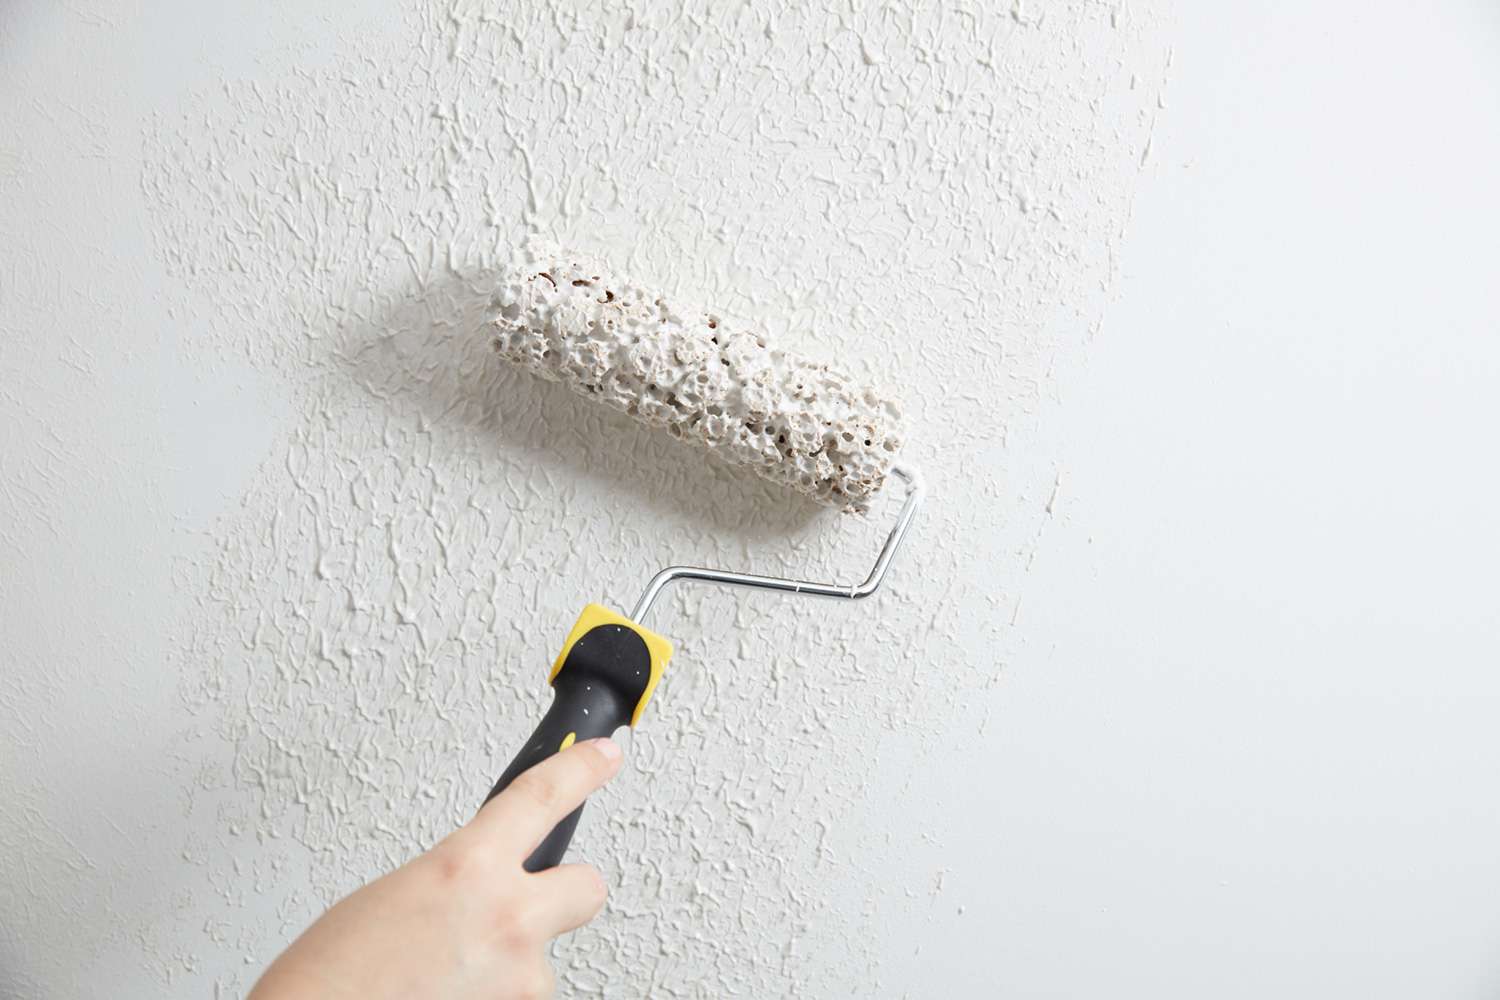
9) Texture Matching (Orange Peel, Knockdown, Smooth)
- Orange peel: adjustable aerosol or hopper gun; test for droplet size and density
- Knockdown: apply even splatter; wait until peaks no longer string; flatten gently with a clean knife nearly flat
- Smooth walls: plan broader skims and tighter sanding; smooth is unforgiving but stunning with good prep
Blend beyond the repair edge; a tight “box” will show under paint.
10) Sanding Without Swirls
- Finish at 220-grit with a pole sander or sanding sponge
- Use long, overlapping strokes—avoid tight circles that make halos
- Vacuum dust and wipe with a clean microfiber
Re-check with the ranking light. If you see a ridge, add a whisper-thin skim and re-sand.
11) Dust Control That Actually Works
- Lightweight mud for final coats creates a finer powder that sands easily
- Pole sander with vac attachment if available
- Cover HVAC returns during sanding; remove covers and clean after
Less dust = better primer bond and less cleanup time.
12) Prime to Equalize Porosity
- Use a PVA drywall primer on repaired areas at a minimum
- When patches are widespread, prime full walls for a uniform sheen
- For stains (marker, water, nicotine), spot prime first with stain-blocker, then PVA
Primer prevents flashing and is the moment truth reveals itself—inspect again under raking light.
13) Final Inspection Pass
- Walk room with your work light and natural light
- Mark tiny holidays, texture density mismatches, or knife lines
- Address now; paint won’t hide them
When you can’t find repairs after priming, your walls are go-time ready.
Key Benefits at a Glance
| Benefit | What You See | Why It Holds Up in Canyon Country |
| Flawless walls | Smooth, even finishes with no “patch boxes” | Bright, low-angle sun won’t reveal seams |
| Stronger adhesion | Paint bonds to clean, primed surfaces | Reduces peeling and flashing |
| Matching texture | Repairs blend into the field pattern | Consistent look under natural and artificial light |
| Cleaner jobsite | Less dust on furniture and vents | Better indoor air during the project |
| Faster final painting | Primer reveals and resolves flaws early | Fewer time-consuming callbacks or touch-ups |
Tools & Materials (Pro-Grade Yet Homeowner-Friendly)
- Microfiber cloths, masking film, painter’s tape, drop cloths
- Pole sander, sanding sponges (medium & 220-grit), vac with HEPA
- 6″, 10″, 12″ knives; mud pan or hawk; corner tools
- All-purpose, lightweight, and setting-type joint compound
- Paper tape, fiberglass mesh, preformed corner beads
- Texture supplies: aerosol/or hopper, knockdown knife, test board
- PVA primer: stain-blocking primer for problem areas
- Bright raking light or work light; safety glasses and a quality mask
Prefer a done-for-you plan? A local Canyon Country Painting Company can bring the materials, protect the space, and finish quickly with tidy results: Canyon Country painting services.
Timing & Dry Times: A Real-World 3-Day Flow
- Day 1 (AM): Protect the room, clean, map flaws, reset fasteners
- Day 1 (PM): First fills with all-purpose or setting-type; start selecting seams
- Day 2 (AM): Second coats and broader skims; begin texture blends
- Day 2 (PM): Final skim passes; light sand late afternoon
- Day 3 (AM): Texture refinement, full sand, dust removal
- Day 3 (PM): Prime (spot or full wall), final check under raking light
Temperature and humidity inside most Canyon Country homes are favorable, but heavy fills or dense knockdown may extend dry times. Respect cure times to keep the finish tight.
Common Mistakes (And the Fix)
- Skipping raking light → Use a shallow-angle light to spot ridges before paint.
- Thick, one-and-done fills → Build with thin coats; thick mud shrinks and cracks.
- Narrow feathering → Extend your feather until the transition is invisible by palm feel.
- Texture boxed in → Blend beyond repairs; match droplet size, density, and pattern.
- Sanding swirls → Finish with long strokes at 220-grit; avoid circular halos.
- No primer → Unprimed patches flash under eggshell/satin; PVA is non-negotiable.
- Ignoring stains → Spot with stain-blocker first, then PVA, paint.
- Rushing → Cure times matter for strong adhesion and a level sheen.
Texture Deep Dive (Match What You Have—or Intentionally Upgrade)
Orange Peel
- Test multiple nozzle settings on a scrap board
- Compare droplet size and coverage to the existing field
- If high, lightly knock with a clean blade; if low, add a second light pass
Knockdown
- Even splatter pattern first
- Watch the set window: flatten when peaks don’t string yet still move
- Clean the knife edge often to avoid drag lines
Smooth Wall
- Plan wider skims and finer sanding
- Prime and re-inspect; do a whisper-thin skim if needed
- Smooth walls are stunning with patience and the right tools
When a Full Skim Makes Sense
Consider skimming an entire wall (or room) if:
- Patch count is high and sheen levels vary everywhere
- Previous repaints left heavy roller texture or ridges you dislike
- You’re updating to smooth walls for a modern look
A full skim, sand, and prime creates a uniform canvas and often accelerates final painting.
Coordinating Prep with Your Paint Plan
- Sheen & color matter: Darker colors and eggshell/satin highlight defects. Invest extra time in prep for these choices.
- Cut lines: Crisp lines at ceilings and trim depend on straight, flat surfaces—repair ridges at those transitions.
- Scheduling: Plan to finish coats soon after priming to keep dust off primed walls.
Proposal Line Items That Affect Cost
- Quantity and size of repairs (dings vs. full skim)
- Texture complexity (knockdown takes longer than light orange peel)
- Access (stairwells, vaulted ceilings, built-ins)
- Product choices (fast-setting compounds, premium primers)
- Dust containment and cleanup level
If one bid is much lower, compare the scope—wide feathering, texture matching, and full-wall priming, which add time but protect your finish and your budget long-term.
Quality Checklist Before You Paint
- No visible ridges or low spots under raking light
- Texture matches density and pattern; edges are blended past repairs
- Sanding swirls removed; surface feels even to the palm
- Patches and raw paper sealed; walls fully primed
- Inside/outside corners straight; screw pops flat and secure
When you can’t “find” the repairs after primer, you’re ready for color.
DIY vs. Pro: Choosing the Right Path
DIY works for light patching, simple textures, and flexible timelines.
Hire a pro when the schedule is tight, the lighting is unforgiving, or you want smooth walls with crisp lines. A local Canyon Country Painting Company can stage the job, handle dust control, and keep your routine on track: Canyon Country painting experts.
After-Care Once the Paint Is On
- Save a labeled jar of your finished paint for easy touch-ups
- Address new dings quickly—tiny blends match better early
- Use mild cleaners for scuffs; avoid harsh chemicals
- Add soft bumpers behind doors to prevent future holes
- Re-inspect high-traffic walls seasonally; quick touch-ups keep everything fresh
FAQs
Q1: Can I just spot paint over tiny nail holes?
A: If they’re true pinholes, spot priming + paint can work. Anything larger needs a thin fill, or it’ll read as a divot after drying.
Q2: What grit should I end with before priming?
A: 220-grit is the sweet spot—smooths tool marks without polishing the paper face.
Q3: Is PVA primer always necessary?
A: If you’ve made any drywall repairs, yes. PVA evens porosity so your finish sheen stays consistent. Use a stain-blocker first on watermarks or inks.
Q4: How do I keep orange peel patches from looking boxed-in?
A: Match droplet size/density, extend the blend past the repair edge, and adjust in small passes. Prime and evaluate; tweak if needed.
Q5: Why do seams show up after painting?
A: Usually, the feather wasn’t wide enough, or sanding left a ridge. Widen the feather, apply a thin skim, re-sand at 220, prime again, then repaint.
Ready for Walls That Make Your Color Pop? Suppose you want a finish that looks new—not “touched up”—partner with a Canyon Country Painting Company that handles drywall prep the right way: patch, texture, sand, and prime. Get started here: Canyon Country painting company.