Hairline Stucco Crack Fix | Canyon Country House Painter
How to Fix Hairline Stucco Cracks: A Canyon Country Painter’s Approach
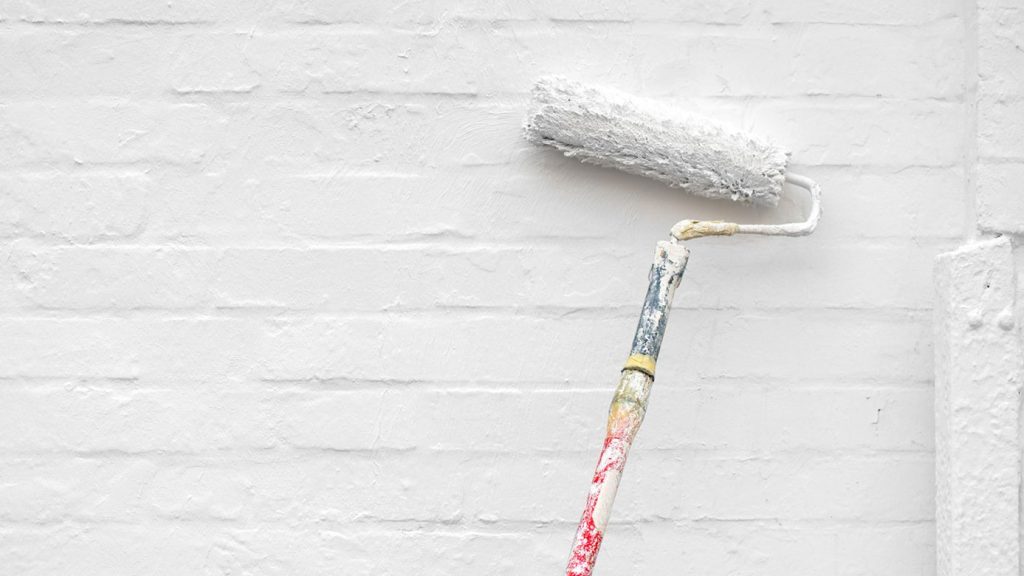
Hairline stucco cracks are a frequent issue in Southern California, especially on homes exposed to the region’s intense sun, dry winds, and temperature swings. If left untreated, these tiny fissures can lead to bigger problems like peeling paint, moisture damage, and unsightly telegraphing. This guide shares a professional Canyon Country house painter’s step-by-step method for repairing hairline stucco cracks, ensuring a smooth, durable finish that lasts through the seasons.
What Defines a Hairline Stucco Crack?
A hairline crack is generally less than 1/16 inch wide—so narrow that a fingernail barely fits inside. These cracks are most commonly found:
-
Around window and door frames, where the house naturally flexes.
-
On south- and west-facing walls, where sun and wind cause the most stress.
-
Along control joints or previous repair sites.
Even the smallest crack can let in UV rays, wind, and moisture, which can cause chalking, peeling, and staining after just one rainy season.
Cosmetic vs. Corrective Repair: What’s the Difference?
-
Cosmetic Repair: For stable, hairline cracks with no dark staining. The process involves cleaning, priming, filling, blending texture, priming again, and painting.
-
Corrective Repair: For wider cracks, those with active movement, or visible moisture stains. These often require elastomeric patching, stucco rebuild, or substrate fixes before painting.
If you’re unsure about the type of crack you’re dealing with, a local Canyon Country house painter can provide a thorough assessment and recommend the right solution for your home.
Why Hairline Cracks Happen in Canyon Country
Canyon Country’s climate is tough on stucco. Hot days, cool nights, Santa Ana winds, and occasional heavy rain all contribute to daily expansion and contraction. Over time, this movement causes the stucco’s finish coat to crack. The solution isn’t just a fresh coat of paint—it’s targeted preparation that addresses both movement and surface porosity.
Step-by-Step Hairline Stucco Crack Repair
Follow these steps for a lasting repair, whether you’re hiring a pro or tackling the job yourself.
-
Clean and Prep the Surface
-
Rinse the wall with low pressure to remove dust, chalk, cobwebs, and salts.
-
Spot-clean any soot, efflorescence, or grease with a mild exterior cleaner.
-
Let the wall dry completely—filler won’t bond to damp stucco.
-
-
Map and Mark Cracks
-
Use blue tape or chalk to mark every visible hairline.
-
Pay close attention to window headers, sill corners, light fixtures, and wall penetrations.
-
Note any shadow lines from previous patches.
-
-
Open the Crack
-
Use a 5-in-1 tool, putty knife, or crack chaser blade to gently V-groove the crack.
-
This creates a wider channel for the filler to grip and prevents surface shells.
-
-
Prime the Channel
-
Brush a bonding or masonry primer directly into the groove.
-
Feather the primer a few inches around the crack to even out porosity.
-
-
Fill with the Right Material
-
For flexible, moving hairlines, use an elastomeric crack filler.
-
For stable, shallow lines, use a polymer-modified stucco patch.
-
Avoid hard caulks—they don’t blend well with stucco and can flash under paint.
-
-
Blend Texture
-
Use a damp sponge float for sand finishes.
-
Lightly trowel and knock down for skip-trowel looks.
-
Use a stipple brush or hopper for heavy dash textures.
-
-
Spot-Prime Again
-
Seal the cured patch with masonry primer.
-
Feather into the surrounding area to ensure even sheen and absorption.
-
-
Paint with a Flexible, UV-Resistant System
-
Apply at least two finish coats.
-
Consider a high-build or elastomeric topcoat for move-prone areas.
-
Maintain a wet edge and watch the sun’s angle to avoid lap marks.
-
Key Benefits of Proper Hairline Crack Repair
| Benefit | What It Means for Your Home | Why It Lasts in Canyon Country |
|---|---|---|
| Better adhesion | Paint bonds to a clean, primed surface | Reduces peeling in hot, dry wind |
| Hidden repairs | Texture matches your existing stucco | No visible “patch boxes” after paint |
| Movement tolerance | Flexible fillers and topcoats flex, not split | Handles daily temp swings |
| Moisture defense | Sealed channels keep water out | Limits staining and hairline growth |
| Even color & sheen | Spot-priming prevents flashing | Fresh paint looks uniform from every angle |
Where Hairline Cracks Hide
-
Window corners: Top-left and top-right are classic stress points.
-
Door casings & garage openings: Repeated closing vibrations.
-
Deck-to-wall tie-ins: Minor movement after temperature swings.
-
Under eaves & fascia returns: Wind eddies and heat pockets.
-
Old patch perimeters: Transitions between new/old materials.
Mark any suspicious spots with a pencil. A Canyon Country house painter can then verify what needs filling versus floating during prep.
Materials Checklist
-
Garden hose or low-pressure washer
-
Mild exterior cleaner & soft brush
-
Painter’s tape / blue tape for mapping
-
Putty knife or 5-in-1 tool (for V-grooving)
-
Masonry bonding primer (spot and wall)
-
Flexible crack filler rated for stucco
-
Texture tools: sponge float, trowel, stipple brush
-
Sandpaper (fine to medium) and dust brush
-
Two finish coats of quality exterior paint
-
Drop cloths, masks, and safety glasses
-
Small texture sample board (to test blends before touching the wall)
Common Mistakes to Avoid
-
Skipping the wash: Paint and filler won’t stick to chalk or dust.
-
No groove, just smear: Filling a closed hairline often leads to surface shells that crack again.
-
Wrong filler: Shiny, non-paintable, or too-hard fillers can telegraph and flash.
-
Texture mismatch: A perfect color still looks off if the texture doesn’t match.
-
No spot-prime: Raw patches absorb differently, leaving dull boxes after paint.
-
Rushing cure times: Heat and wind tempt you to hurry—don’t.
-
One thin coat: Under-build shows every repair; go for two solid coats.
Choosing Products That Hold Up in Our Climate
-
High UV resistance to slow color fade on south/west walls.
-
Elastomeric or high-build options where micro-movement is common.
-
Alkali-resistant primers for fresh stucco or areas with efflorescence.
-
Mildew-resistant formulas for shaded, damp corners.
-
Mid-tone and dark body colors absorb more heat—balance with light trim and choose topcoats rated for thermal cycling.
Prep Standards: What a Quality Crew Does Differently
-
Full assessment: Flags not just cracks but failed sealants, loose trim, and missing backer rod at joints.
-
Documentation: Simple elevation maps so you know what’s being addressed.
-
Mock-ups: A small texture sample before applying it across the wall.
-
Weather management: Early starts, shaded work, and planned return passes for second coats.
-
Clean edges: Masking that protects windows, stone, and fixtures for crisp lines.
If your proposal doesn’t mention crack routing, spot-priming, and texture blend, ask why. These steps make a “fresh coat” look truly new.
Timeline & Dry Times
-
Day 1: Wash, dry, and map cracks.
-
Day 2: Groove, spot-prime, fill primary areas.
-
Day 3: Texture blend, spot-prime, first coat on shaded elevations.
-
Day 4: Second coat, detail work, fronts/trim, touch-ups, cleanup.
Heat, wind, and elevation complexity adjust the plan. Full cure between filler, primer, and paint is key for a tight finish.
Cost Factors
-
Number of cracks and ladder work needed.
-
Texture complexity (skip-trowel and heavy dash take more time).
-
Product choice (high-build and elastomeric systems cost more but last longer).
-
Access & masking (rooflines, landscaping, fixtures).
A low bid that skips V-grooving and spot-priming often leads to visible lines and early failure. Paying for careful prep saves money over the next repaint cycle.
When Hairlines Aren’t Just Hairlines
Watch for signs that you’re beyond cosmetic repair:
-
Stair-step cracks wider than a hairline.
-
Brown streaks or rust-colored leaching after rain.
-
Soft spots when pressed, or hollow sounds when tapped.
-
Persistent moisture near deck ledgers or hose bibs.
These call for substrate repairs before painting. A trusted Canyon Country house painter can coordinate the right scope and protect your new coating.
After-Care: Keep Cracks from Coming Back Early
-
Annual rinse to remove dust and salts.
-
Inspect corners & penetrations every spring.
-
Keep sprinklers from hitting walls.
-
Log small cracks when you see them; quick touch-ups prevent bigger fixes.
-
Save a labeled can of your topcoat for blends that actually match.
FAQs:
Q1: Can I just use paint with “fill” claims and skip filler?
No. Even high-build coatings aren’t designed to permanently bridge unprepared cracks. A quick V-groove, primer, and filler make the right base. Skipping filler leads to early failure and visible telegraphing.
Q2: What if the old paint is chalky?
Wash first and use a bonding primer. Painting over chalk leads to peeling and poor adhesion. Chalky surfaces must be stabilized before any filler or paint is applied.
Q3: Should I use caulk on hairline cracks?
Most standard caulks cure shiny and don’t texture-match. Use a stucco-rated flexible filler that takes texture and paint. Caulk is better for expansion joints, not for blending with stucco.
Q4: Is elastomeric paint always the answer?
It’s great for movement-prone elevations, but it must be applied at the correct mil thickness over proper prep. It’s not a cure-all for structural issues and should be paired with correct crack repair.
Q5: How long will a proper repair last?
With good prep and two quality coats, you should see a multi-year finish that weathers Canyon Country’s sun and wind without telegraphing those hairlines. Regular after-care extends the life even further.