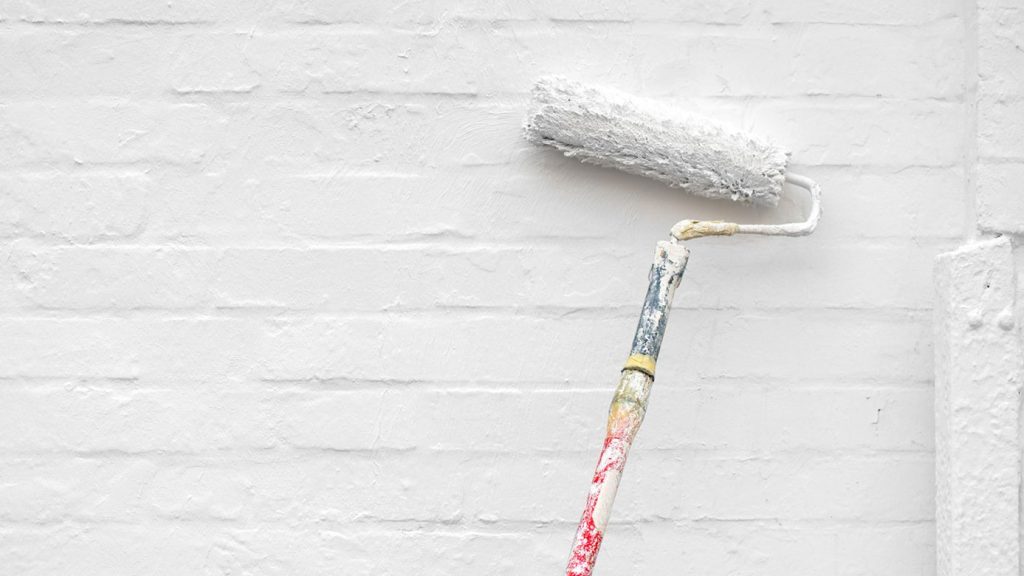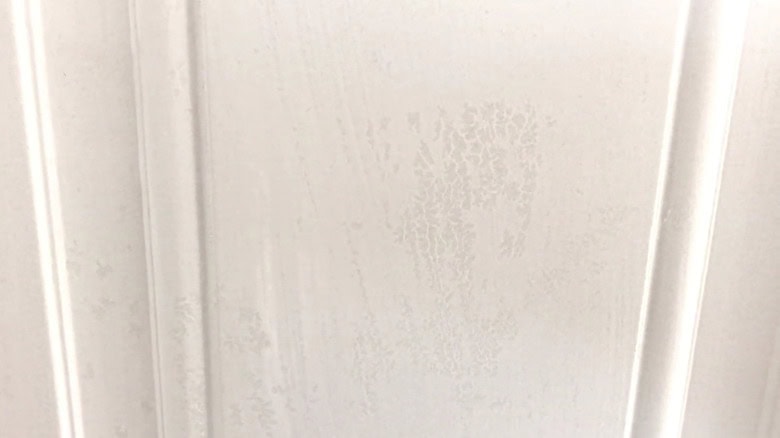
If you’ve ever rolled a wall and watched the paint pull into beads or bare spots, you’ve seen cissing. This guide shows you how to fix paint cissing step by step and how to keep it from coming back—on walls, ceilings, trim, and cabinets.
Quick answer: how to fix paint cissing (at a glance)
- Stop painting and let the coat fully dry.
- Wash with a degreaser or mild TSP substitute; rinse and dry.
- Sand lightly (180–220 grit) to dull gloss and feather edges.
- Prime with a quality bonding/stain-blocking primer.
- Recoat with compatible paint, honoring label spread rates and dry times.
For more problem/solution pairings, see our guide on how to fix paint cissing and related issues.
Why cissing happens
Cissing is a wetting failure. Fresh paint won’t spread over surfaces that are oily, dusty, slick, or incompatible with the new coat.
Common triggers:
- Polishes and silicones: furniture sprays, aerosols, residues from silicone caulk.
- Kitchen grease and vapor: buildup around stoves and cabinet fronts.
- High-gloss or factory finishes: slick trim enamels and cabinet coatings.
- Dust and compound film: drywall dust or sanding residue.
- Product mismatch: switching from oil to water-based paint without proper prep.
- Moisture/condensation: bathrooms, laundry rooms, and cold substrates.
Walls & ceilings: how to fix paint cissing the right way
- Let it cure
Don’t chase the beading with extra paint. Allow the failed coat to dry before sanding cleanly. - Deep clean
Degrease the area, especially around switches, handles, and cooking zones. Rinse with clean water and let dry. - Scuff sand
Use 180–220 grit to dull the sheen and smooth crater edges. Vacuum and tack-wipe the surface to ensure it is dust-free. - Bonding primer
Apply a primer designed for slick, previously painted, or lightly contaminated surfaces. This promotes wetting and evens porosity. - Repaint with care
Use clean tools. Don’t overspread—keep to the label’s spread rate and recoat window.
Trim, doors, and cabinets: how to fix paint cissing on hard finishes
These surfaces are less porous and hold oils from hands and cleaners, so they need upgraded prep.
- Degrease twice to eliminate hidden residues.
- Break the gloss with 150–180 grit, then refine with 220 grit.
- Prime for adhesion with a true bonding primer.
- Check caulk: remove non-paintable silicone and replace with paintable caulk before priming.
- Thin, even coats beat one heavy pass and help the finish level out.
Bathrooms & kitchens: humidity control while you fix cissing
- Ventilate during prep and painting, and for 24–48 hours afterward.
- Keep relative humidity under ~50% while coatings cure.
- Avoid silicone-based sprays near freshly painted surfaces.
Product compatibility tips
- Moving from oil to water-based? Always clean, sand, and prime first.
- Retire any rollers/brushes that were exposed to polishes, silicones, or odd additives.
- Stick with a system (primer and paint designed to work together) when possible.
Prevention checklist (before your next coat)
- Clean → Rinse → Dry in that order.
- Scuff any glossy or factory-smooth area.
- Prime tricky spots and patched sections.
- Use fresh, lint-free tools.
- Paint in moderate temps with RH ~40–50%.
- Follow the spread rate and recoat timing on the label.
Troubleshooting if cissing reappears
- Let the new coat dry, then spot-sand and spot-prime.
- Inspect for steam, drafts, or condensation.
- If it’s widespread, full reprime may be faster than chasing spots.
When to bring in a pro
If you’ve followed the steps for how to fix paint cissing and the issue persists, the substrate may be contaminated with silicone, coated with a hard-to-identify legacy finish, or affected by moisture within the wall or trim. That’s where professional diagnostics and product selection save time, materials, and frustration.
FAQs
1) What exactly is cissing?
It’s when wet paint pulls away from the surface, leaving beads or craters because the paint can’t properly wet the substrate.
2) Do I always need primer to fix cissing?
Often, yes. After cleaning and sanding, a bonding primer is the most reliable way to block residue and improve wetting.
3) How to fix paint cissing on glossy trim?
Deep clean, aggressively scuff to break the sheen, apply a bonding primer, then paint in thin coats.
4) Can heavy coats hide the problem?
Usually no. Heavy coats tend to telegraph defects and can worsen wetting failures.
5) How do I avoid cissing in bathrooms?
Control humidity, avoid silicone sprays, and prime any glossy areas before painting.