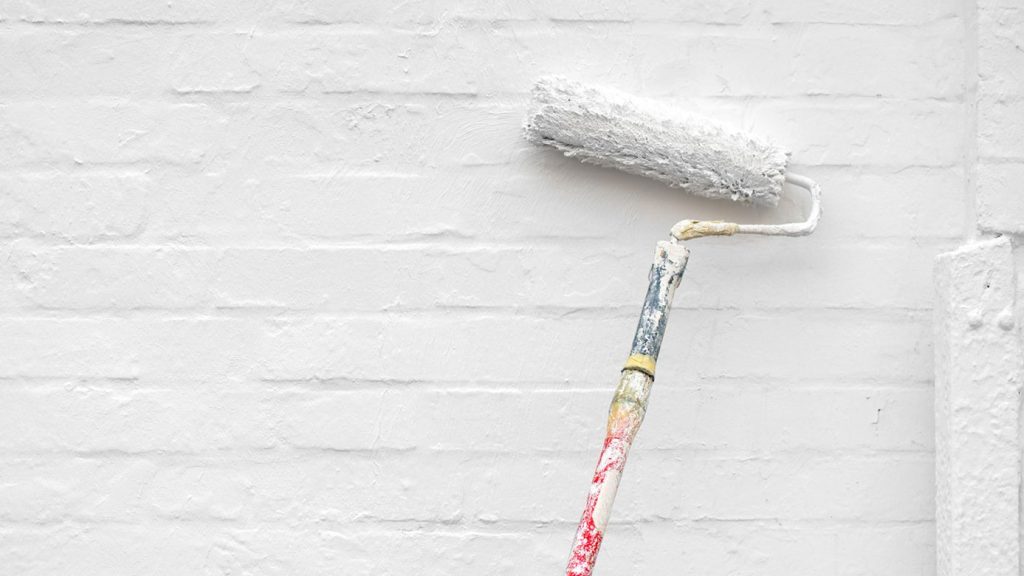
Stucco is everywhere in Santa Clarita—and for good reason. It’s durable, fire-resistant, and handles our climate well. But when it’s time to repaint, the finish only lasts if the surface is prepped right. Learning how to prep stucco for painting is the difference between a coat that lasts a decade and one that peels in a couple of seasons.
Here’s what you’ll learn: how to inspect and clean stucco, how to repair cracks the right way, when to prime, and the mistakes that cause early paint failure.
Why stucco needs special prep
Stucco is porous and slightly textured, so it collects dust, chalking, and hairline cracks that smooth siding doesn’t. Paint won’t bond to a dirty or crumbling surface, and unsealed cracks let moisture in behind the coating. Skipping prep is the number-one reason exterior stucco jobs fail early. Done right, prep gives the paint a clean, sound, sealed surface to grip.
The stucco prep process
Follow these steps in order for a lasting finish.
- Inspect the surface. Walk the walls and mark cracks, chips, holes, and any soft or crumbling areas.
- Clean thoroughly. Remove dirt, cobwebs, and chalking.
- Repair cracks and holes. Fill and seal damage so moisture can’t get behind the paint.
- Let repairs cure. Patching material and any new stucco need time to dry fully.
- Prime where needed. Seal bare patches, repairs, and chalky areas with a masonry primer.
- Caulk gaps. Seal around windows, doors, and trim penetrations with a quality exterior caulk.
- Confirm it’s dry. Stucco must be completely dry before the first coat goes on.
Cleaning stucco before painting
Cleaning stucco before painting removes the film that blocks adhesion. A low-pressure wash works well—too much pressure can gouge the texture or drive water deep into the wall. For mildew or heavy grime, a cleaning solution helps, followed by a rinse. The most important part comes after: stucco holds water, so it needs to dry completely, often a day or more depending on sun and wind, before you paint. Our guide to the best time to paint a house exterior explains how weather affects that dry time.
Patching stucco cracks
Patching stucco cracks correctly keeps water out and prevents them from telegraphing through the new paint. Match the fix to the crack:
| Crack type | Best fix |
|---|---|
| Hairline (under 1/16″) | Elastomeric patching compound or masonry caulk |
| Medium (1/16″–1/4″) | Paintable exterior caulk or stucco patch |
| Wide or deep | Stucco patch material, applied in layers |
| Chips and gouges | Stucco repair mix, textured to match |
For homes with widespread cracking or moisture concerns, an elastomeric coating can bridge hairline cracks and add extra weather protection. Match the texture of any repair to the surrounding wall so it disappears once painted, and always let it cure before priming. Industry resources like Sherwin-Williams offer masonry-specific primers and patch products designed for stucco.
Common stucco prep mistakes to avoid
- Painting too soon. Damp stucco traps moisture and causes blistering—wait until it’s fully dry.
- Using too much pressure. High-pressure washing damages texture and forces water into the wall.
- Skipping primer on repairs. Bare patches and chalky areas absorb paint unevenly without a masonry primer.
- Ignoring cracks. Unsealed cracks let water in and reappear through the finish.
Is stucco prep a DIY job?
Basic cleaning and small crack repair are within reach for a handy homeowner, but stucco projects add real challenges: two-story walls, texture matching, moisture assessment, and large surface areas. Getting the prep or timing wrong is costly to redo. New Life Painting’s exterior painting services include full stucco prep—inspection, cleaning, repair, and priming—so your coating lasts. Homeowners throughout Canyon Country and greater Santa Clarita count on that thoroughness to protect their homes.
Ready to repaint your stucco?
Great stucco prep is the foundation of an exterior finish that lasts for years. If you’d rather leave the cleaning, crack repair, and priming to a pro, we’re here to help. New Life Painting proudly serves Santa Clarita, CA and surrounding communities—Valencia, Stevenson Ranch, Saugus, Newhall, Castaic, and Canyon Country. Call (661) 289-6564 or request a free estimate for a no-pressure quote.
Frequently Asked Questions
How do I prep stucco for painting?
Start by inspecting for damage, then clean the surface with a low-pressure wash to remove dirt and chalking. Repair and seal any cracks or holes, let repairs cure, and prime bare or chalky areas with a masonry primer. Make sure the stucco is completely dry before applying paint.
Do I need to clean stucco before painting?
Yes. Cleaning stucco before painting removes dust, chalking, and mildew that stop paint from bonding. Use low pressure to avoid damaging the texture, and let the wall dry fully—often a day or more—before you paint. Skipping this step is a leading cause of early peeling.
How do I repair stucco cracks before painting?
Fill hairline cracks with elastomeric patching compound or masonry caulk, and use stucco patch material for wider cracks, applied in layers. Texture the repair to match the surrounding wall and let it cure before priming. Sealing cracks keeps moisture out and prevents them from showing through the paint.
Should I prime stucco before painting?
Prime any bare stucco, patched repairs, and chalky or previously unpainted areas with a masonry primer. Primer seals the porous surface so paint goes on evenly and bonds well. Sound, previously painted stucco in good condition may not need full priming, but repairs always do.
How long should stucco dry before painting?
After washing or any wet repair, stucco should dry completely—typically a day or more, depending on sun, wind, and humidity. Painting damp stucco traps moisture and causes blistering and peeling. A moisture meter or a professional crew can confirm when it’s ready.