
Step-by-Step Guide to Cabinet Refinishing in Santa Clarita
Cabinet refinishing is a smart, budget-friendly upgrade for Santa Clarita homes. Whether you’re looking to refresh your kitchen, bathroom, or any cabinetry, refinishing offers a stylish transformation without the hassle and expense of a full remodel. This guide will help you navigate every phase of the process, from planning and prep to finishing touches and long-term care.
Why Cabinet Refinishing Stands Out
Choosing cabinet refinishing means:
-
Updating your home’s look without removing existing cabinetry
-
Saving money compared to full replacement
-
Reducing waste and supporting eco-friendly home improvements
-
Boosting your home’s resale value with a modern aesthetic
Refinishing lets you experiment with new colors, finishes, and styles, making your cabinets a focal point of your home’s design.
Your Cabinet Refinishing Roadmap
1. Set Your Vision
Start by visualizing your ideal outcome. Are you after a sleek, modern look or a cozy, traditional vibe? Decide on your preferred color scheme and finish type—matte, satin, or gloss. Consider local Santa Clarita trends for inspiration and ensure your choices complement your home’s overall style.
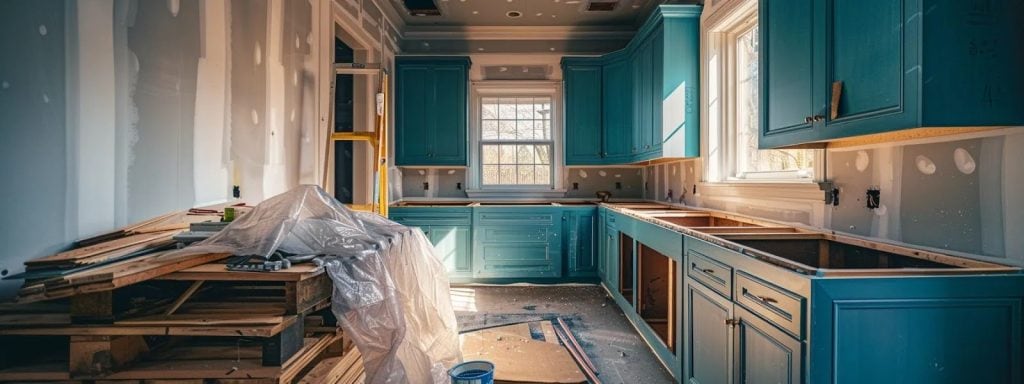
2. Assess Cabinet Condition
Inspect your cabinets for any damage, warping, or loose joints. Minor repairs can be handled before refinishing, but major structural issues may require professional intervention or replacement. Know whether your cabinets are solid wood, laminate, or MDF, as each material needs a slightly different approach.
3. Gather Tools and Materials
You’ll need:
-
Sandpaper (medium and fine grit)
-
Tack cloth
-
Cabinet-grade primer and paint or stain
-
Brushes, rollers, or sprayer
-
Drop cloths and masking tape
-
Safety gear (gloves, goggles, mask)
4. Remove and Clean Hardware
Take off all doors, drawers, and hardware. Label each piece for easy reassembly. Clean surfaces with a mild detergent to remove grime and grease, ensuring better adhesion for primer and paint.
5. Sand and Prep
Sand all surfaces with medium-grit sandpaper to remove the old finish. Follow up with fine-grit sandpaper for a smooth base. Wipe away dust with a tack cloth and fill any imperfections with wood filler. Let repairs dry, then sand again for a flawless surface.
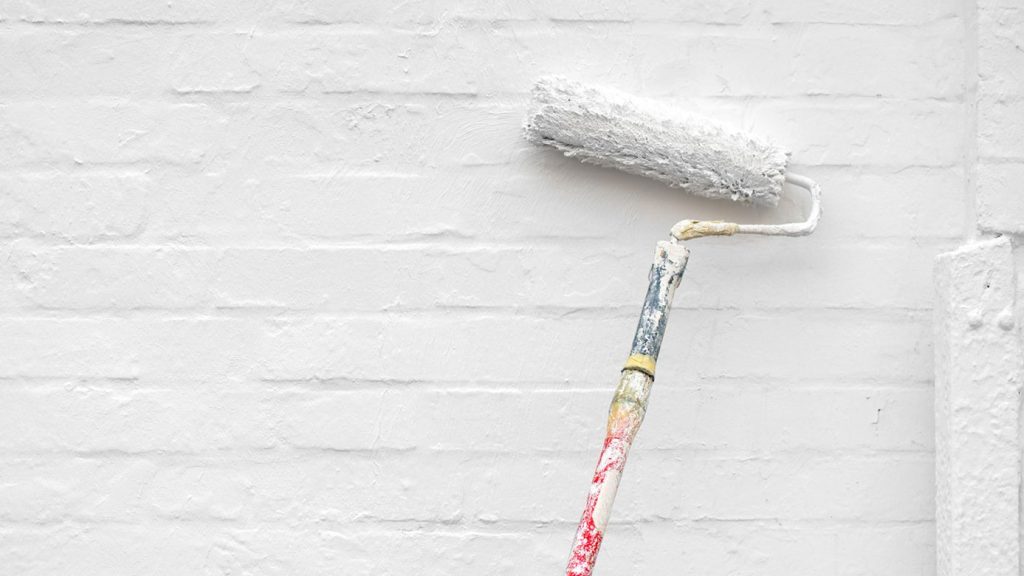
6. Prime and Finish
Apply a high-quality primer suited to your cabinet material. Allow it to dry, then lightly sand. Apply 2–3 thin coats of cabinet paint or stain, letting each coat dry completely. For added durability, finish with a protective topcoat like polyurethane.
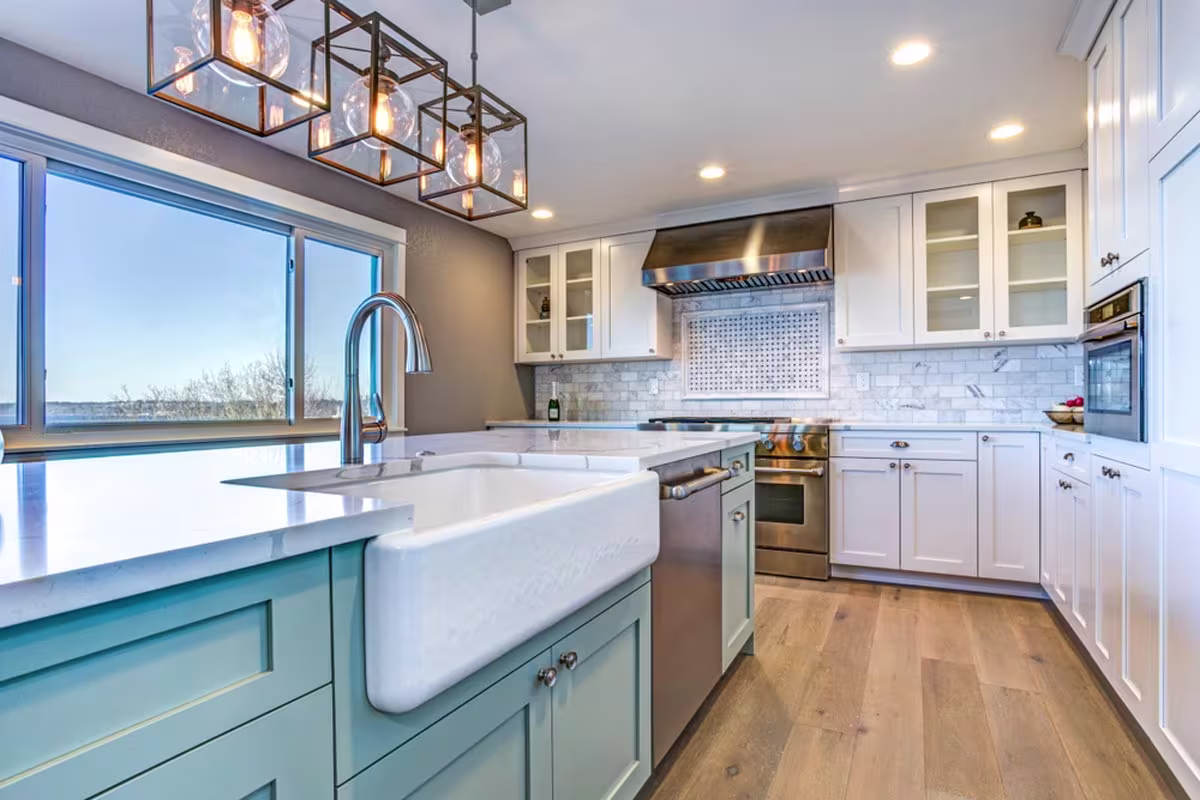
7. Reassemble and Style
Once the finish is fully cured, reattach doors, drawers, and hardware. Adjust for a perfect fit and consider upgrading hardware for a fresh look. Add accent lighting or new knobs to complete your transformation.
Long-Term Care for Refinished Cabinets
-
Clean regularly with a soft cloth and mild cleaner
-
Address chips or scratches promptly with touch-up paint
-
Avoid harsh chemicals or abrasive scrubbers
-
Inspect for wear and moisture damage every few months
-
Use a humidifier in winter and ensure good ventilation in summer to protect finishes
Frequently Asked Questions
1. What makes cabinet refinishing a good choice for Santa Clarita homeowners?
Refinishing cabinets is a practical, cost-effective way to modernize your home. It’s ideal for those who want a fresh look without the mess or expense of a full remodel. Refinishing also reduces waste and helps maintain your cabinetry’s structural integrity, making it a sustainable choice for eco-conscious residents.
2. What are the main steps in the cabinet refinishing process?
The process involves removing hardware, cleaning and sanding surfaces, repairing any damage, applying primer, painting or staining, and finishing with a protective topcoat. Each step is crucial for a smooth, long-lasting result. Proper prep ensures the new finish adheres well and looks professional.
3. How long does cabinet refinishing usually take?
Most cabinet refinishing projects take 4–7 days, depending on the size of your kitchen and the amount of prep work needed. Allowing time for drying and curing between coats is essential for a durable finish. Larger or more complex jobs may take longer.
4. Can all types of cabinets be refinished?
Most solid wood, wood veneer, and even some laminate cabinets can be refinished. Thermofoil cabinets may require special primers for paint adhesion. If cabinets are severely damaged or warped, replacement might be a better option. Consulting a local expert can help determine the best approach for your specific cabinets.
5. What should I look for in a cabinet refinishing contractor?
Choose a contractor with local experience, a strong portfolio, and positive reviews. Ensure they use high-quality, climate-appropriate finishes and follow thorough prep and application methods. Ask for detailed quotes and references to make an informed decision and achieve lasting results.