Achieving a Smooth, Brush-Free Finish on Cabinets: Tips and Techniques – New Life Painting Santa Clarita
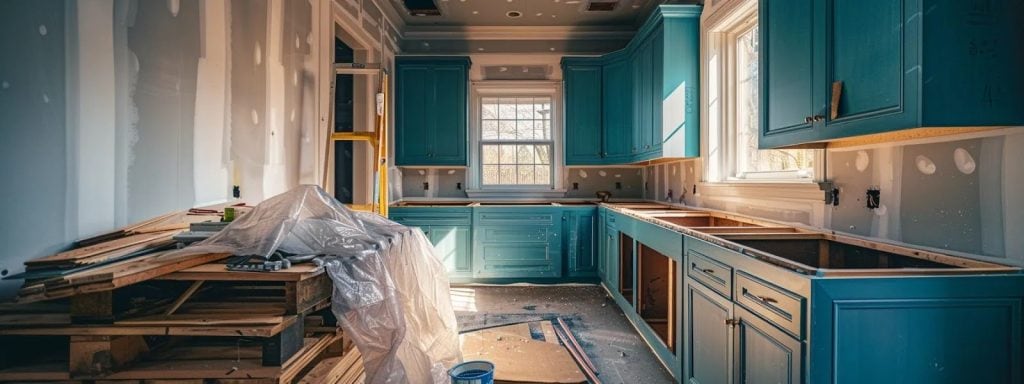
Updating your kitchen or bathroom cabinets can dramatically elevate your space, but a smooth, professional finish is what sets a DIY project apart from a pro job. At New Life Painting Santa Clarita, we specialize in helping homeowners achieve that flawless, brush-free look that makes cabinets look brand new. In this guide, you’ll discover our top strategies for preparing, painting, and finishing your cabinets for a stunning, long-lasting result.
Why Go Brush-Free?
A brush-free finish isn’t just about aesthetics—it’s about durability and ease of maintenance. Brush marks and roller stippling can trap dirt and make cleaning a chore, while a smooth surface is easier to wipe down and resists wear. Whether you’re refreshing old cabinets or giving your space a modern makeover, a seamless finish will stand the test of time and keep your cabinets looking pristine.
Step-by-Step Cabinet Painting Guide
1. Take Everything Off
Begin by removing all cabinet doors, drawers, and hardware. Label each piece with tape to avoid confusion during reassembly. This approach allows you to work on each item individually, ensuring a consistent, professional finish across every surface.
2. Deep Clean Every Surface
Kitchen cabinets are magnets for grease and grime. Use a degreasing solution or a mix of warm water and dish soap to thoroughly clean all surfaces. Rinse well and let everything dry completely before moving on.
3. Sand for Perfection
Sanding is essential for a smooth finish. Start with 120-grit sandpaper to remove old finish and imperfections, then switch to 220-grit for a finer, smoother base. Always sand in the direction of the grain and wipe away dust with a tack cloth.
4. Prime for Lasting Adhesion
Apply a high-quality bonding primer, especially if your cabinets are laminate or glossy. Primer ensures better paint adhesion and a more durable finish. Let the primer dry fully before painting.
5. Choose the Right Paint
Select a premium interior paint formulated for cabinets. Semi-gloss or satin finishes are ideal for kitchens and bathrooms, as they resist moisture and are easy to clean. Avoid standard vinyl paints, which can peel and wear quickly.
6. Use the Best Tools
For a truly brush-free finish, consider using a paint sprayer or a high-density foam roller. Foam rollers are excellent for flat surfaces, while sprayers deliver the smoothest results but require careful masking and practice.
7. Apply Thin, Even Coats
Paint in thin, even layers, allowing each coat to dry completely before adding the next. Overloading your brush or roller can cause drips and visible marks. Use the “wet edge” technique—overlap strokes slightly while the paint is still wet—for the best results.
8. Sand Between Coats
Lightly sand between coats with 220-400 grit sandpaper to smooth out any imperfections. Wipe away dust before applying the next coat to maintain a flawless finish.
9. Allow Ample Drying Time
Give your cabinets plenty of time to dry and cure—ideally 5-7 days before reassembly and at least 30 days for full curing. Rushing this process can lead to smudges and imperfections.
10. Reassemble and Enjoy
Once your cabinets are fully dry, reassemble them using your labeled pieces. Upgrade hardware for a fresh look and consider adding shelf liners or under-cabinet lighting for an extra touch.
FAQs:
1. What’s the best way to prevent brush marks when painting cabinets?
Use a paint sprayer or high-density foam roller for flat surfaces. For edges and corners, opt for a synthetic brush with a fine tip. Always apply thin, even coats and maintain a wet edge to minimize visible marks.
2. How should I prepare cabinets for a flawless finish?
Remove all doors and hardware, clean thoroughly, sand with 120-grit and 220-grit sandpaper, and wipe away dust. Apply a bonding primer, especially on laminate or glossy cabinets, for better adhesion.
3. Is it possible to paint cabinets without removing them?
While you can paint cabinets in place, removing doors and drawers allows for more thorough cleaning, sanding, and a smoother, more professional result. It’s the best way to achieve a truly brush-free finish.
4. How long does it take for painted cabinets to fully cure?
Cabinets typically need 5-7 days to dry enough for reassembly, but allow at least 30 days for full curing. Avoid heavy use during this time to prevent smudges and imperfections.
5. What type of paint is best for cabinets?
Use a premium interior paint designed for cabinets, such as luxury emulsion or cabinet-specific paint. Semi-gloss or satin finishes are ideal for kitchens and bathrooms because they resist moisture and are easy to clean.